| #1 | |
| In this guide we will learn how to convert a function block diagram into it’s own individual function block in Quartus II. This process will work virtually identically for verilog files as well. See the open “Block1.bdf*” above; the asterisks means our file is not currently saved. We will need to save it to disk, so go to File > Save. | 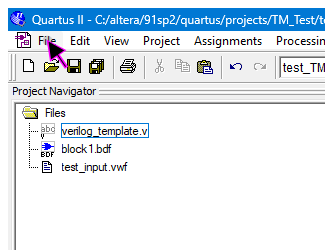 |
| #2 | |
| In quartus, Left Click on menu item Save. | 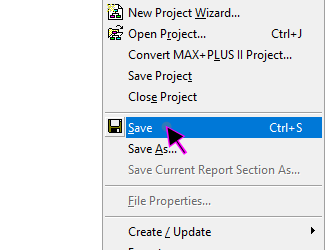 |
| #3 | |
| In quartus, Name your file (here named Block2.bdf for example) then Left Click on button Save | 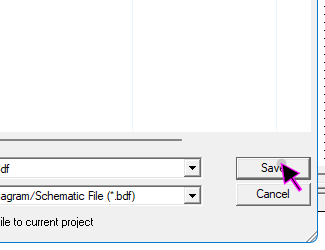 |
| #4 | |
| Now that our desired function block diagram file is saved, we will need to make it our top-level entity. Right click on your new file in Project Navigator. | 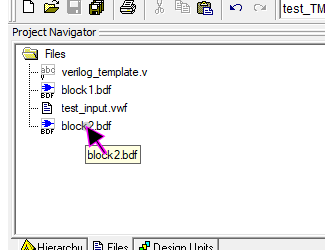 |
| #5 | |
| In quartus, Left Click on menu item Set as Top-Level Entity | 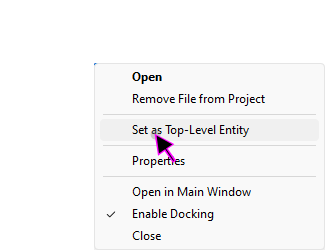 |
| #6 | |
| Now we will need to compile our function block diagram. Click on Processing. | 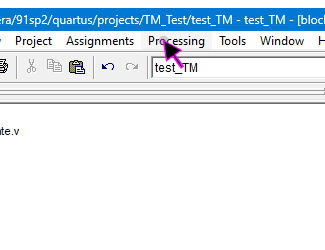 |
| #7 | |
| In quartus, Left Click on menu item Start Compilation | 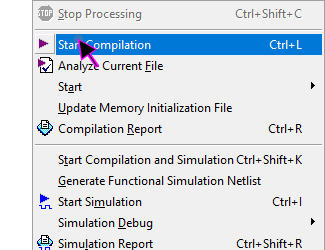 |
| #8 | |
| If your block is correct, Compilation will be succesfull. | 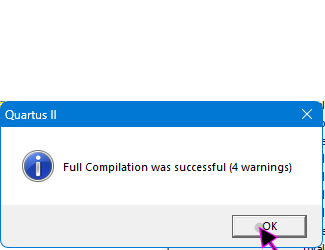 |
| #9 | |
| Now that our funciton block diagram is compiled, we will need to convert it into a usable symbol (block.) Double-click on the block diagram again to bring it’s window into focus. | 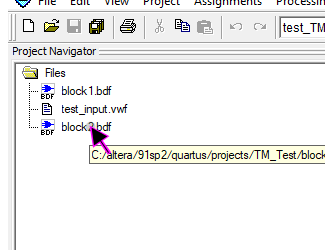 |
| #10 | |
| Once it’s in focus, Left Click on menu item File | 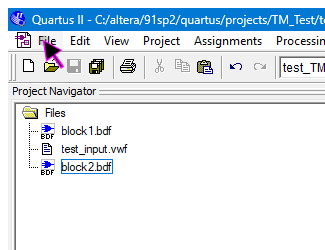 |
| #11 | |
| In quartus, select Create/Update menu item. | 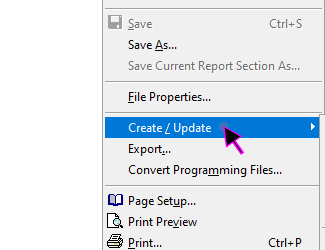 |
| #12 | |
| In quartus, Left Click on menu item Create Symbol Files for Current File | 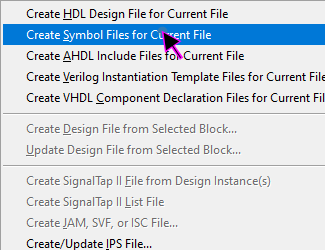 |
| #13 | |
| In quartus, Left Click on button Save. It will automatically name based on your block diagram file name, which is fine in most cases. | 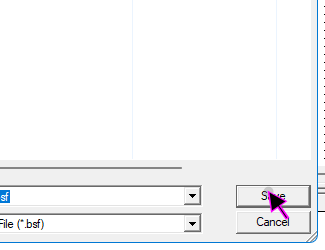 |
| #14 | |
| In quartus, Left Click on button OK. Now we will look on how to insert the newly-created block symbol file. | 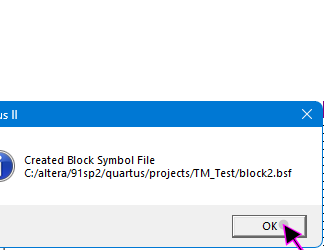 |
| #15 | |
| In our example Block 1 is our Top-Level design. We double-click on it to open it. | 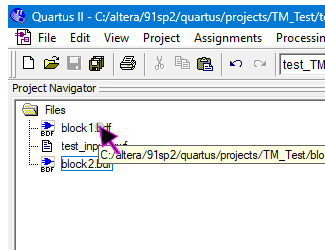 |
| #16 | |
| Now in our Block1 diagram view, right click to insert a new symbol. | 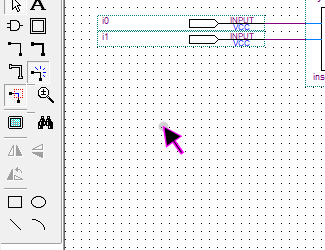 |
| #17 | |
| In quartus, Left Click on menu item Insert | 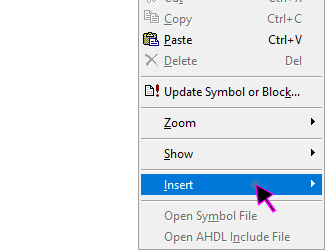 |
| #18 | |
| In quartus, Left Click on menu item Symbol… | 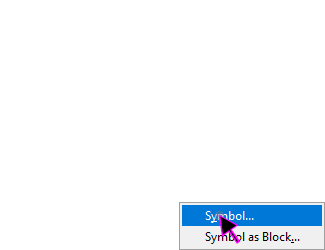 |
| #19 | |
| Expand the ‘Project’ folder at the top of the insert symbol dialog. | 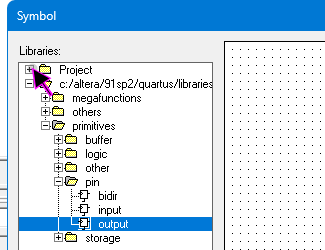 |
| #20 | |
| This will show us a list of all our custom blocks. Double click on the ‘block2’ symbol file we created earlier. | 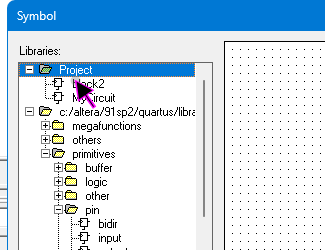 |
| #21 | |
| In quartus, Left Click on button OK | 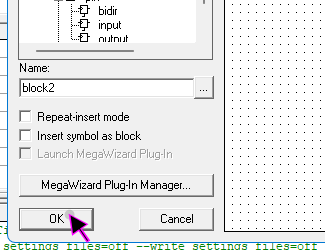 |
| #22 | |
| Now we can place the symbol block where we want. IMPORTANT NOTE: If you ever make changes to the underlying logic of your original block, you will need to re-do this entire procedure to update the symbol file with the new logic, then re-insert all new symbol files. Unfortunately, there isn’t a way to back-propogate changes to the underlying logic. | 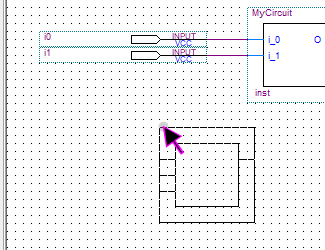 |
| #23 | |
| If you are not happy with the pin-out placement of your custom function block, these can be manually adjusted. To do this, Right click on your symbol and … | 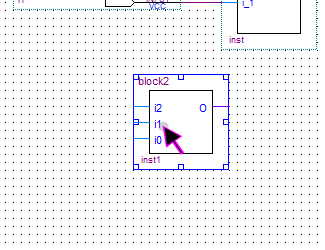 |
| #24 | |
| In quartus, Left Click on menu item Edit Selected Symbol | 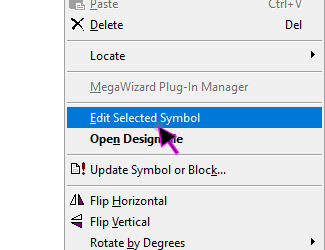 |
| #25 | |
| You can drag the pins to re-arrange them to your desired configuration. | 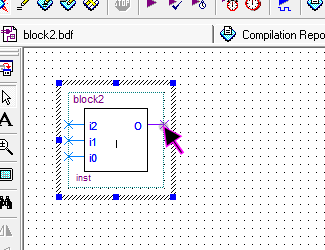 |
| #26 | |
| We slightly lowered the O pin to be in the center. | 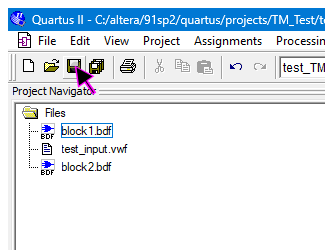 |
| #27 | |
| Click the ‘Save’ icon to make sure your new pin arrangment of the symbol file is saved. | 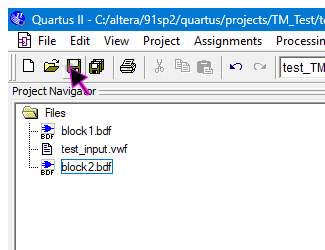 |
| #28 | |
| Now we can go back to our original top-level diagram and insert our adjusted block, and remove the old one. | 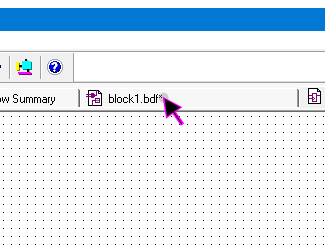 |
| #29 | |
| You have succesfully turned your individual block diagram design into it’s own custom symbol block! | 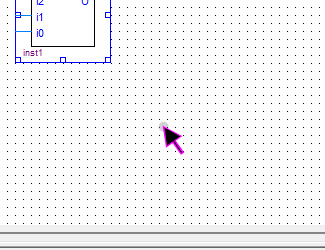 |